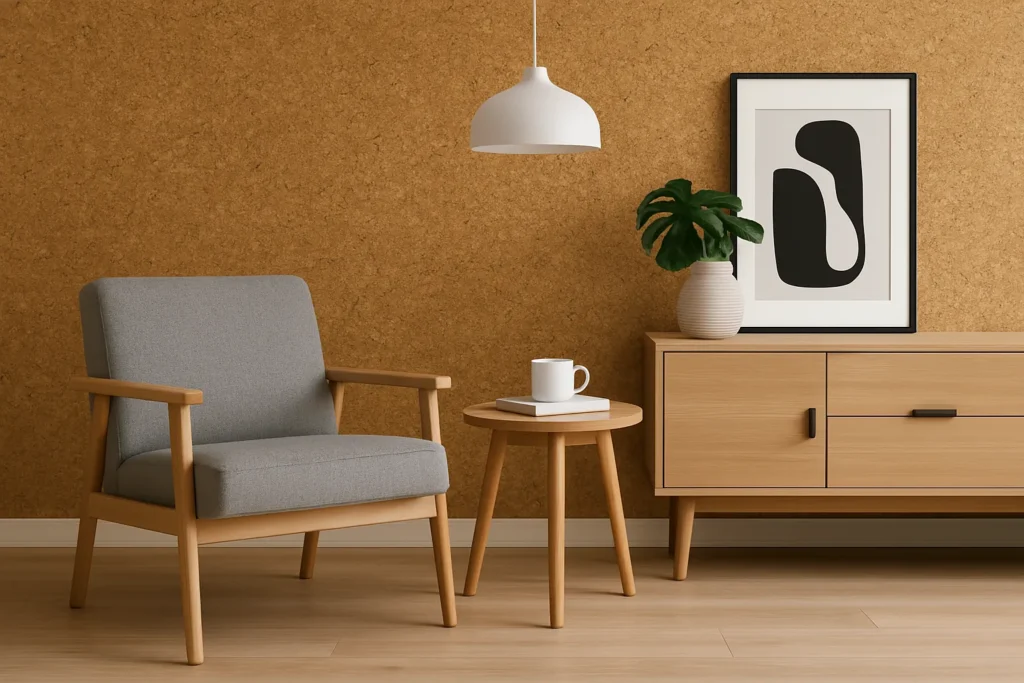
Thinking about refreshing your walls with something unique and sustainable? Installing cork wallpaper is a fantastic choice! Not only is cork eco-friendly, but it also offers excellent insulation and a beautiful, natural look. In this step-by-step DIY guide, you’ll learn exactly how to install cork wallpaper yourself—saving money and adding charm to your interior decor.
Why Choose Cork Wallpaper?
Cork wallpaper is increasingly popular for several compelling reasons:
- Eco-friendly: Cork is harvested sustainably, making it an excellent green choice.
- Insulating properties: Cork wallpaper provides thermal and acoustic insulation.
- Easy to maintain: It resists moisture, mold, and mildew.
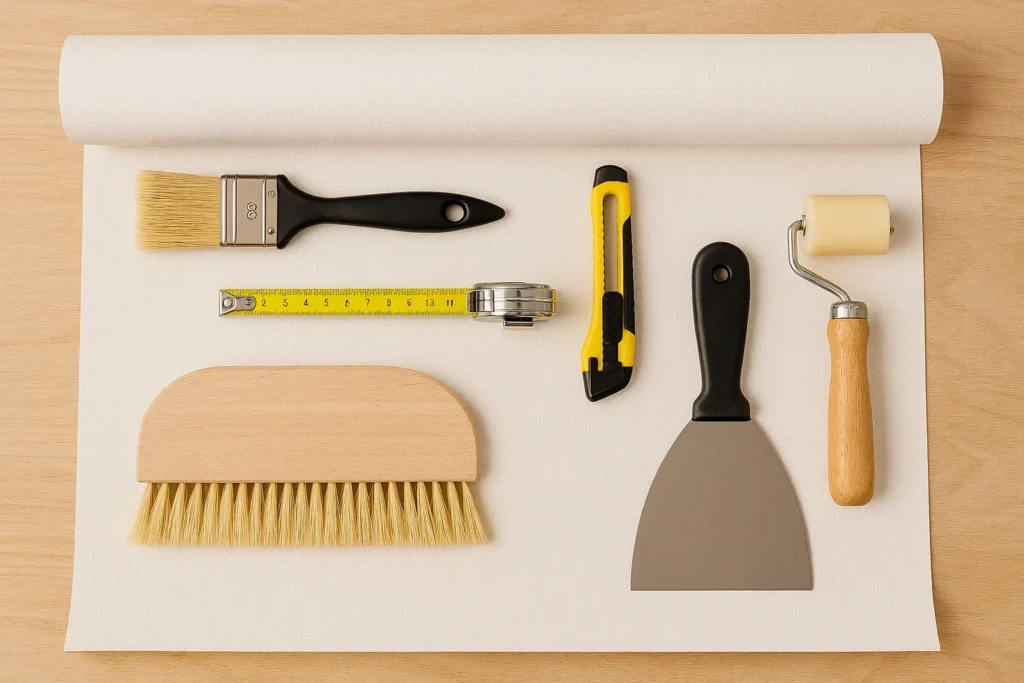
Tools and Materials Needed for DIY Wallpaper Installation
Before you start, gather the following items:
- Cork wallpaper rolls
- Wallpaper adhesive
- Paint roller or brush
- Wallpaper smoothing brush
- Utility knife
- Measuring tape
- Pencil
- Level
- Sponge and water bucket
Preparing Your Walls for Cork Wallpaper Installation
Proper preparation ensures the wallpaper adheres perfectly:
- Clean the walls: Remove dust and grime with mild soap and water.
- Repair damage: Fill any holes or cracks with wall filler, then sand smooth.
- Prime the wall: Apply primer to enhance adhesive effectiveness.
Step-by-Step Guide to Installing Cork Wallpaper
Step 1: Measure and Cut Wallpaper
Measure your wall dimensions accurately. Add about 2-3 inches extra length to allow for trimming. Mark dimensions on your wallpaper roll and cut carefully using a utility knife.
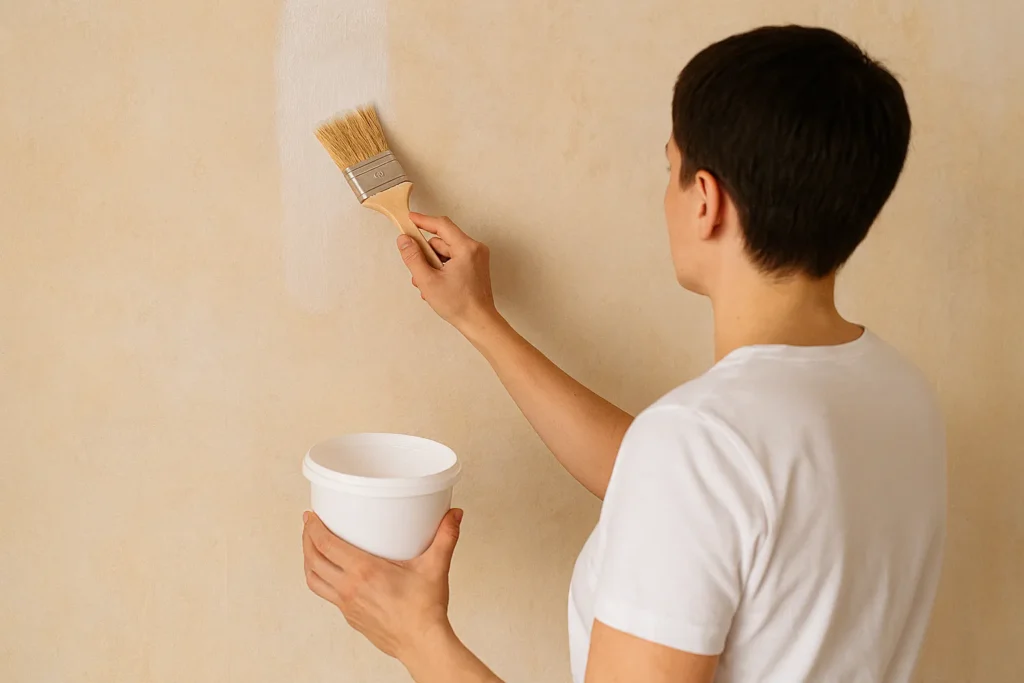
Step 2: Apply Wallpaper Adhesive
Apply wallpaper adhesive to the wall using a paint roller or brush. Ensure even application to avoid bubbles or peeling.
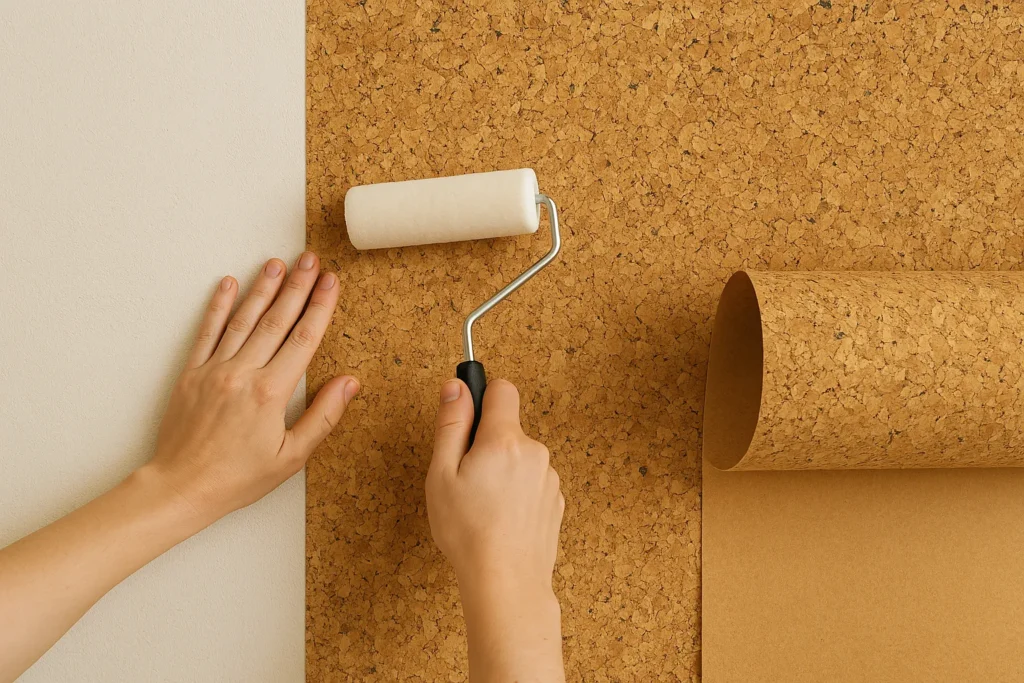
Step 3: Hang the Cork Wallpaper
Start from the top corner, aligning the edge of the wallpaper with the edge of the wall. Use a wallpaper smoothing brush to gently press the wallpaper onto the wall, removing any air bubbles or wrinkles.
Step 4: Trim Excess Wallpaper
Use a utility knife to neatly trim any excess wallpaper around corners, windows, and edges.
Common DIY Cork Wallpaper Installation Mistakes to Avoid
- Insufficient adhesive: Always apply a generous amount of adhesive to prevent peeling.
- Ignoring wall preparation: Skipping wall preparation can lead to poor adhesion.
- Rushing the smoothing process: Take your time to ensure the wallpaper is free of bubbles and wrinkles.
Maintenance Tips for Cork Wallpaper
Maintain the beauty of your cork wallpaper easily:
- Regularly dust with a soft, dry cloth.
- Clean spills immediately with a damp cloth.
- Avoid harsh chemicals to preserve the wallpaper’s natural properties.
Frequently Asked Questions (FAQs)
Can cork wallpaper be installed in bathrooms?
Yes, cork wallpaper is moisture-resistant and suitable for bathrooms.
Is cork wallpaper removable?
Most cork wallpapers are removable, but adhesive type influences ease of removal. Always check the manufacturer’s instructions.
How long does cork wallpaper last?
Properly maintained cork wallpaper can last up to 20 years or more.
Final Thoughts
Installing cork wallpaper is a rewarding DIY project that enhances your home’s aesthetic and environmental footprint. With careful preparation and adherence to these installation steps, you’ll create a durable, beautiful finish you’ll enjoy for years to come.


